
Building Forms
Web forms let you capture leads directly from your website. Bsynced CRM includes a built-in form builder and also integrates with Google Forms.
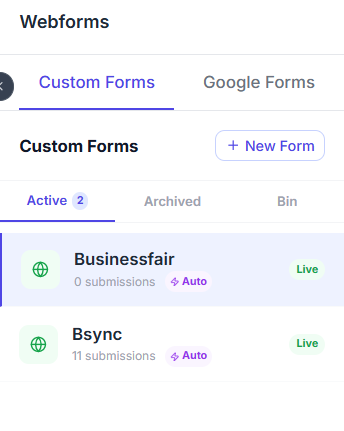
Creating a Custom Form
- Go to Web Forms in the sidebar.
- Click + New Form.
- Enter a form name (internal reference).
- Use the drag-and-drop form builder to add fields:
Available Field Types
| Field | Use case |
|---|---|
| Text | Name, company, any short answer |
| Capture and validate email addresses | |
| Phone | Phone number input |
| Dropdown | Single-choice selection |
| Multi-select | Multiple-choice selection |
| Textarea | Longer free-text responses |
| Checkbox | Agreement / opt-in |
| Date | Date picker |
| Number | Numeric input |
| Hidden | Pre-filled values not shown to the user |
Configuring Fields
For each field you can set:
- Label — the question text shown to the user
- Placeholder — hint text inside the input
- Required — toggle to make the field mandatory
- Validation — email format validation, minimum/maximum length
- Map to CRM field — choose which contact or lead field this maps to (e.g. "Email" field → Contact Email)
Form Settings
Under the Settings tab of the form builder:
- Success message — text shown after successful submission
- Redirect URL — optionally redirect the user to a thank-you page after submission
- Lead source label — tag all leads from this form with a source label (e.g. "Website Contact Form")
- Assignee — auto-assign all leads from this form to a specific team member
- Notifications — email notification to your team when a new submission arrives
Publishing a Form
After configuring your form:
- Click Save.
- Go to the Embed tab.
- Copy the embed code (an
<iframe>snippet). - Paste the embed code into your website's HTML where you want the form to appear.
Alternatively, copy the direct form URL to share the form as a standalone page hosted by Bsynced CRM.
Google Forms Integration
If you already use Google Forms, you can connect them to Bsynced CRM to import submissions as leads automatically.
Connecting a Google Form
- Go to Web Forms → Google Forms.
- Click Connect Google Form.
- Paste the Google Form URL (the public form URL, not the edit URL).
- Map each Google Form question to a CRM lead field.
- Click Save.
Submissions to the Google Form will now appear in Web Forms → Submissions and create leads in your Leads Inbox automatically.
Google Forms sync
Google Forms submissions are synced via Google Sheets (the form's linked spreadsheet). Ensure the linked spreadsheet is accessible to the connected Google account. New responses typically appear in the CRM within 5 minutes.
Form Preview
Click Preview at any point in the form builder to see exactly how the form looks to a visitor before publishing.